Python Twitter Bot Using Google Cloud Shell
October 5, 2015
For this post, I discuss how to use a twitter bot with Google Cloud Shell to tweet the Eskom load shedding status. The source code for the Eskom Load Shedding Twitter bot is hosted here on Github.
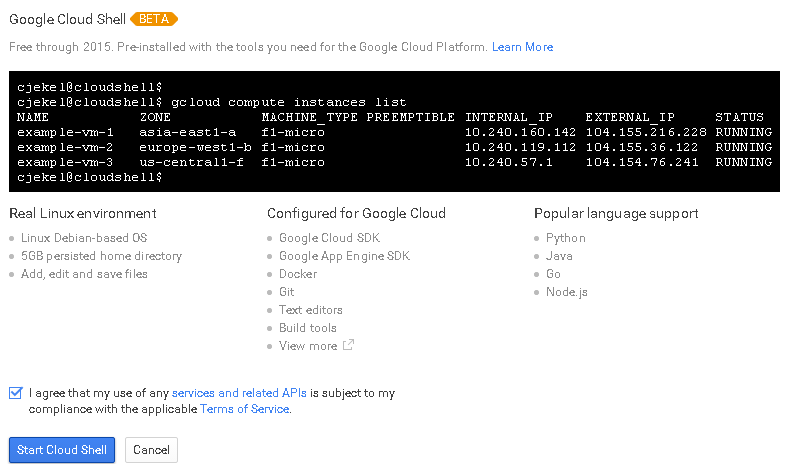
Google Cloud Shell is a Debian-based shell running on the Google Cloud Platform. It runs on an f1-micro machine that includes Bash, Vim, Python 2.7, Node.js, Java SDK 1.7 and 1.8. The best part is that the use of Google Cloud Shell is completely free through the end of 2015, as the Cloud Shell is presently a Beta release.
To get started with the Google Cloud Shell, open up the Google Developers Console and click on the Activate Google Cloud Shell button.

If this is your first time opening the Google Cloud Shell, you will be prompted with some information about Google Cloud Shell as well as the Terms of Service.
We’ll start by creating a twitterBot directory, and then opening the newly created twitterBot Directory. If you’re familiar with a shell environment, you’ll already feel right at home.

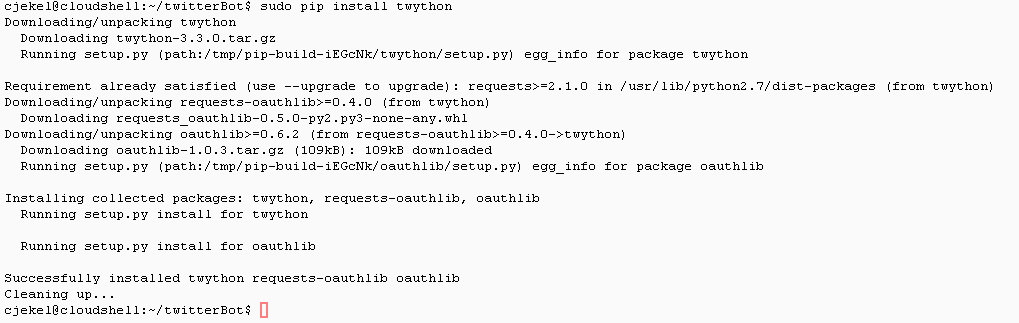
The Esksom Load Shedding Twitter Bot uses the Twython Python library to tweet. While Google Cloud Shell supports Python 2.7, it doesn’t natively include Twython. Luckily, Google Cloud Shell allows for the sudo command to install software. We can install twython using pip by running sudo pip install twython in the Cloud Shell.
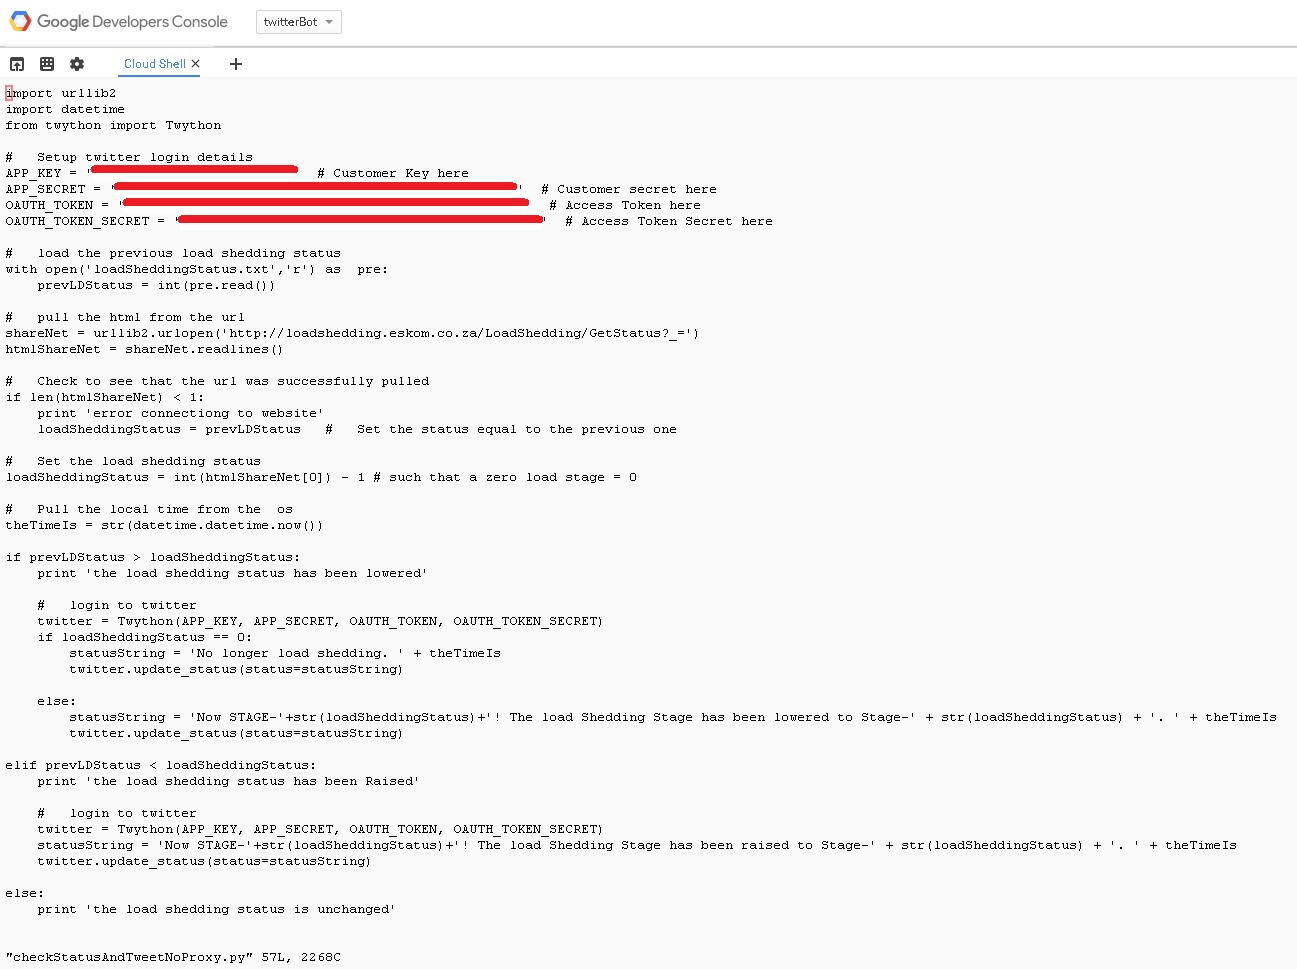
Google Cloud shell supports copy/paste functionally with the desktop environment. Using vim and copy/paste we can easily create the Python Twitter bot in the google shell. We’ll start with the main python script. Running vim checkStatusAndTweetNoProxy.py creates the Python file and opens the vim editor.

If you are unfamiliar with vim, you’ll need to enter :i to enter insert mode so that you can paste the script into the editor. It can be noticed that I’ve changed the Twitter authentication details to my own, you will need to do the same. To exit insert mode on vim you’ll need to press esc. In addition, to save in vim enter :wq!.
Alternatively the Google Cloud Platform has other methods for accessing the cloud storage used by the Cloud Shell.
We’ll then create the load shedding status file by running vim loadSheddingStatus.txt.

I know the load shedding status is Stage-0 right now. So I’ll simply insert a 0 into the text file, because I don’t want the bot to tweet until the load shedding stage has changed.

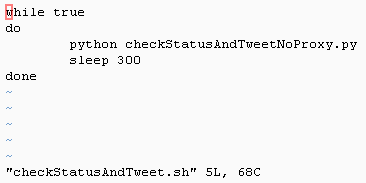
We need to create the shell script that loops through to execute the Python file. Run vim checkStatusAndTweet.sh to create the shell file.

We’ll create a loop that runs the python script every five minutes, similar to the script found here.
Now everything is in place to run the Twitter Bot on Google Cloud Shell for the first time! Simply execute sh checkStatusAndTweet.sh to run the Python Twitter bot on the Google Cloud Shell. We’ll notice a new printout every five minutes.

Google Cloud Shell appears to timeout after one hour of inactivity, although a warning message pops up that you can click to extend the session.
While the files will remain from our previous Cloud Shell sessions, the software we installed will not. This means that you will have to install Twython every Cloud Shell session. If installing the software you need for every instance of Cloud Shell is a problem, you could setup a script to automate your software installations. For our case, we could incorporate pip install twython into checkStatusAndTweet.sh.