Battery and screen replacement on a LeEco Le Max 2 (x2)
September 18, 2018
I just replaced the battery and screen on my LeEco Le Max 2, and this post will detail the process. Hopefully it will be helpful for someone who is considering to replace their screen and/or battery.
Consider buying an extra screen
There are a number of people who have reported breaking their screen as a result of replacing the battery. I highly recommend that you buy a replacement screen if you intend to replace the battery. Unfortunately while removing my screen I also created a few dead pixels (which you’ll see later). With all that being said, it is definitely possible to remove your screen without damaging it. I suspect that next time I will be able to remove the screen without damaging it.
Tools required
- small philips screwdriver (from Jeweler’s kit)
- thin prying tools
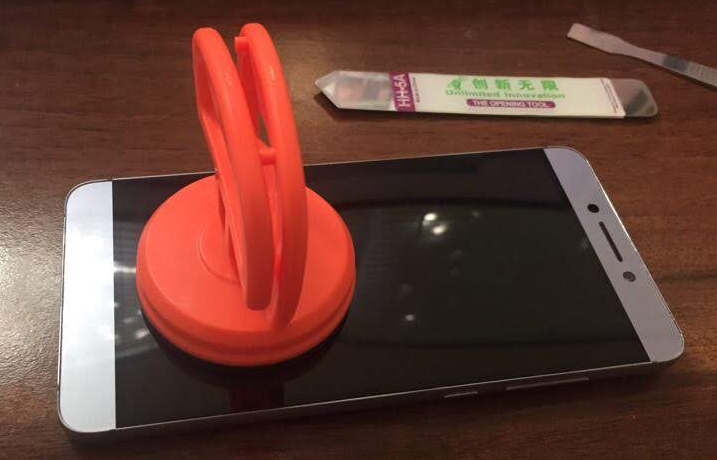
- suction cup that tightly grips screen (you’ll see the one I used later)
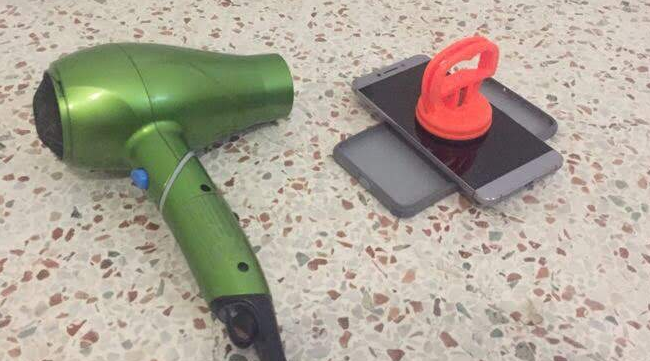
- heat gun or hair dryer
Onto the replacement procedure
Before you begin, make sure that you have plenty of time to commit to the replacement. It took me about 2 hours to swap the battery and screen. You should also read this full post before attempting to remove your battery.
Remove any sim cards in your phone and turn your phone off.
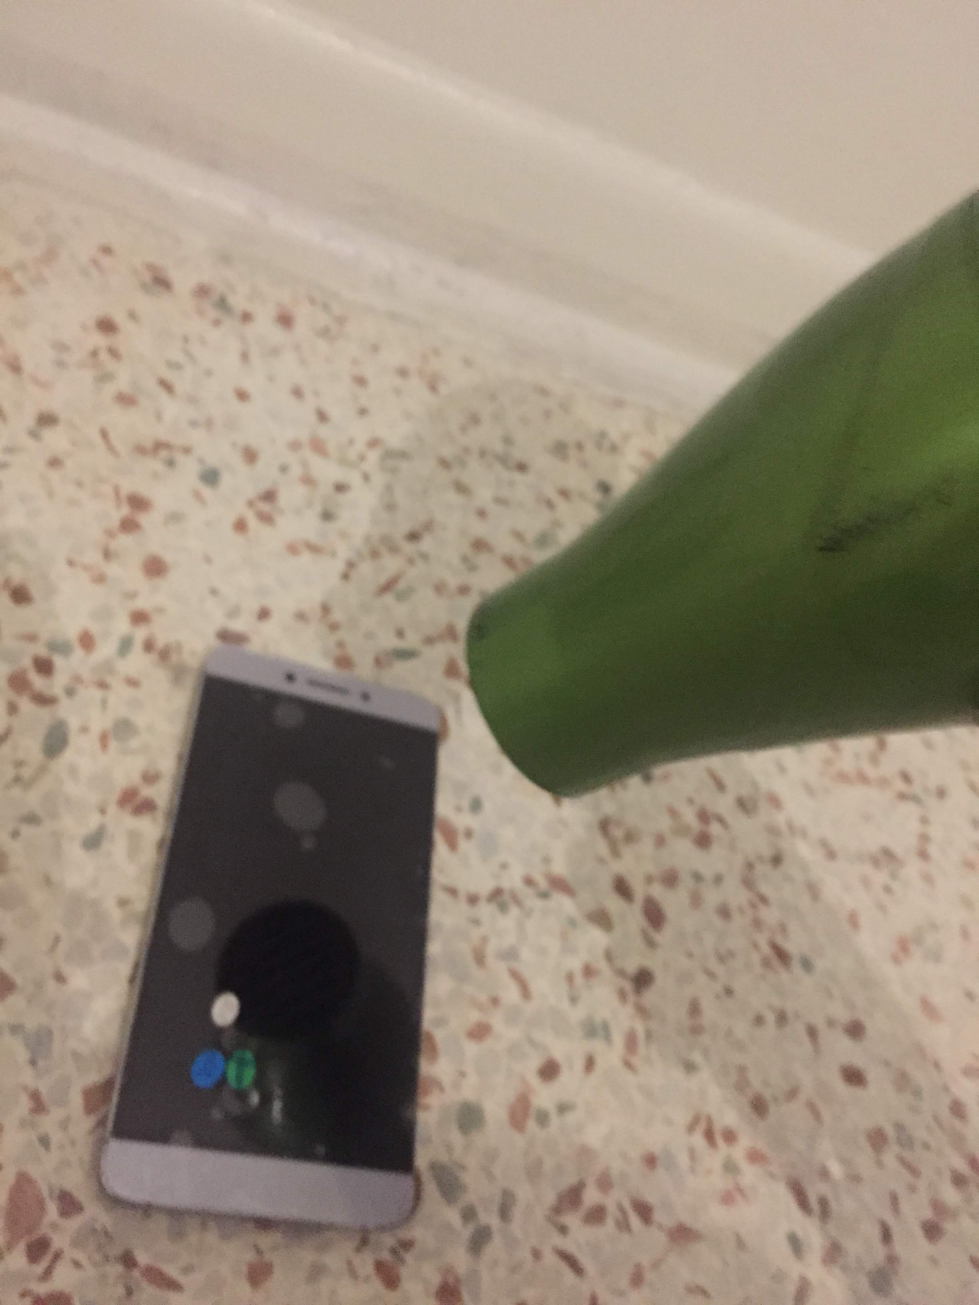
You’ll need to heat up the perimeter of the screen on your phone. This can be done using a heat gun, however I manged this using a hair dryer. I spent about 10 minutes heating up the screen before attempting to remove the screen. Note that as you’re removing the screen you may need reheat certain areas of the screen to loosen up the adhesive that secures the screen.
Next you’ll want to apply the suction cup towards the bottom of the screen. Ensure that you have a solid grip on the screen.
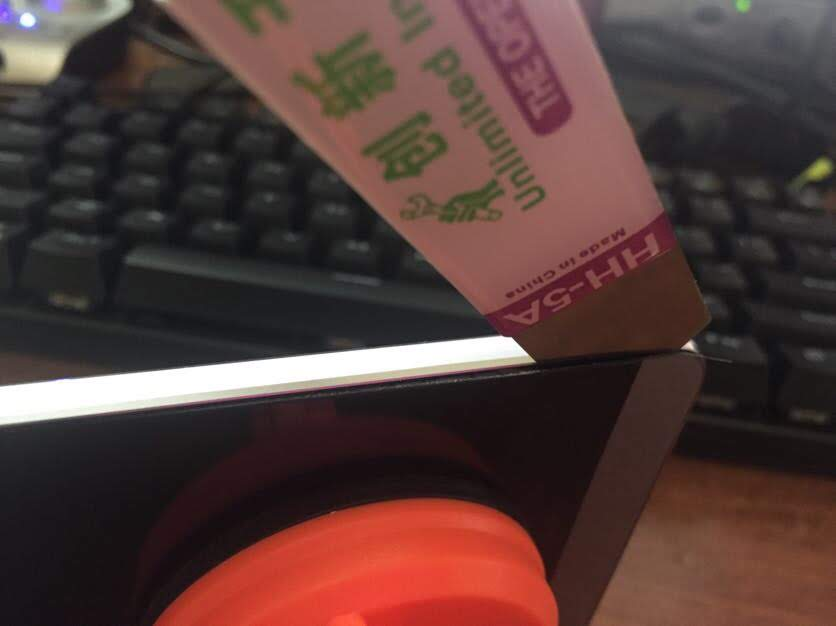
I pulled the suction cup away from the screen, and began to notice that the sides of the screen were begging to come undone. I used a prying tool to sliced the adhesive that was holding the screen in place.
Go around the edge of the screen very carefully until the entire screen is removed. Remember the screen is glass and will break if it’s flexed too much. My advice would be to go slow and use a lot of heat.

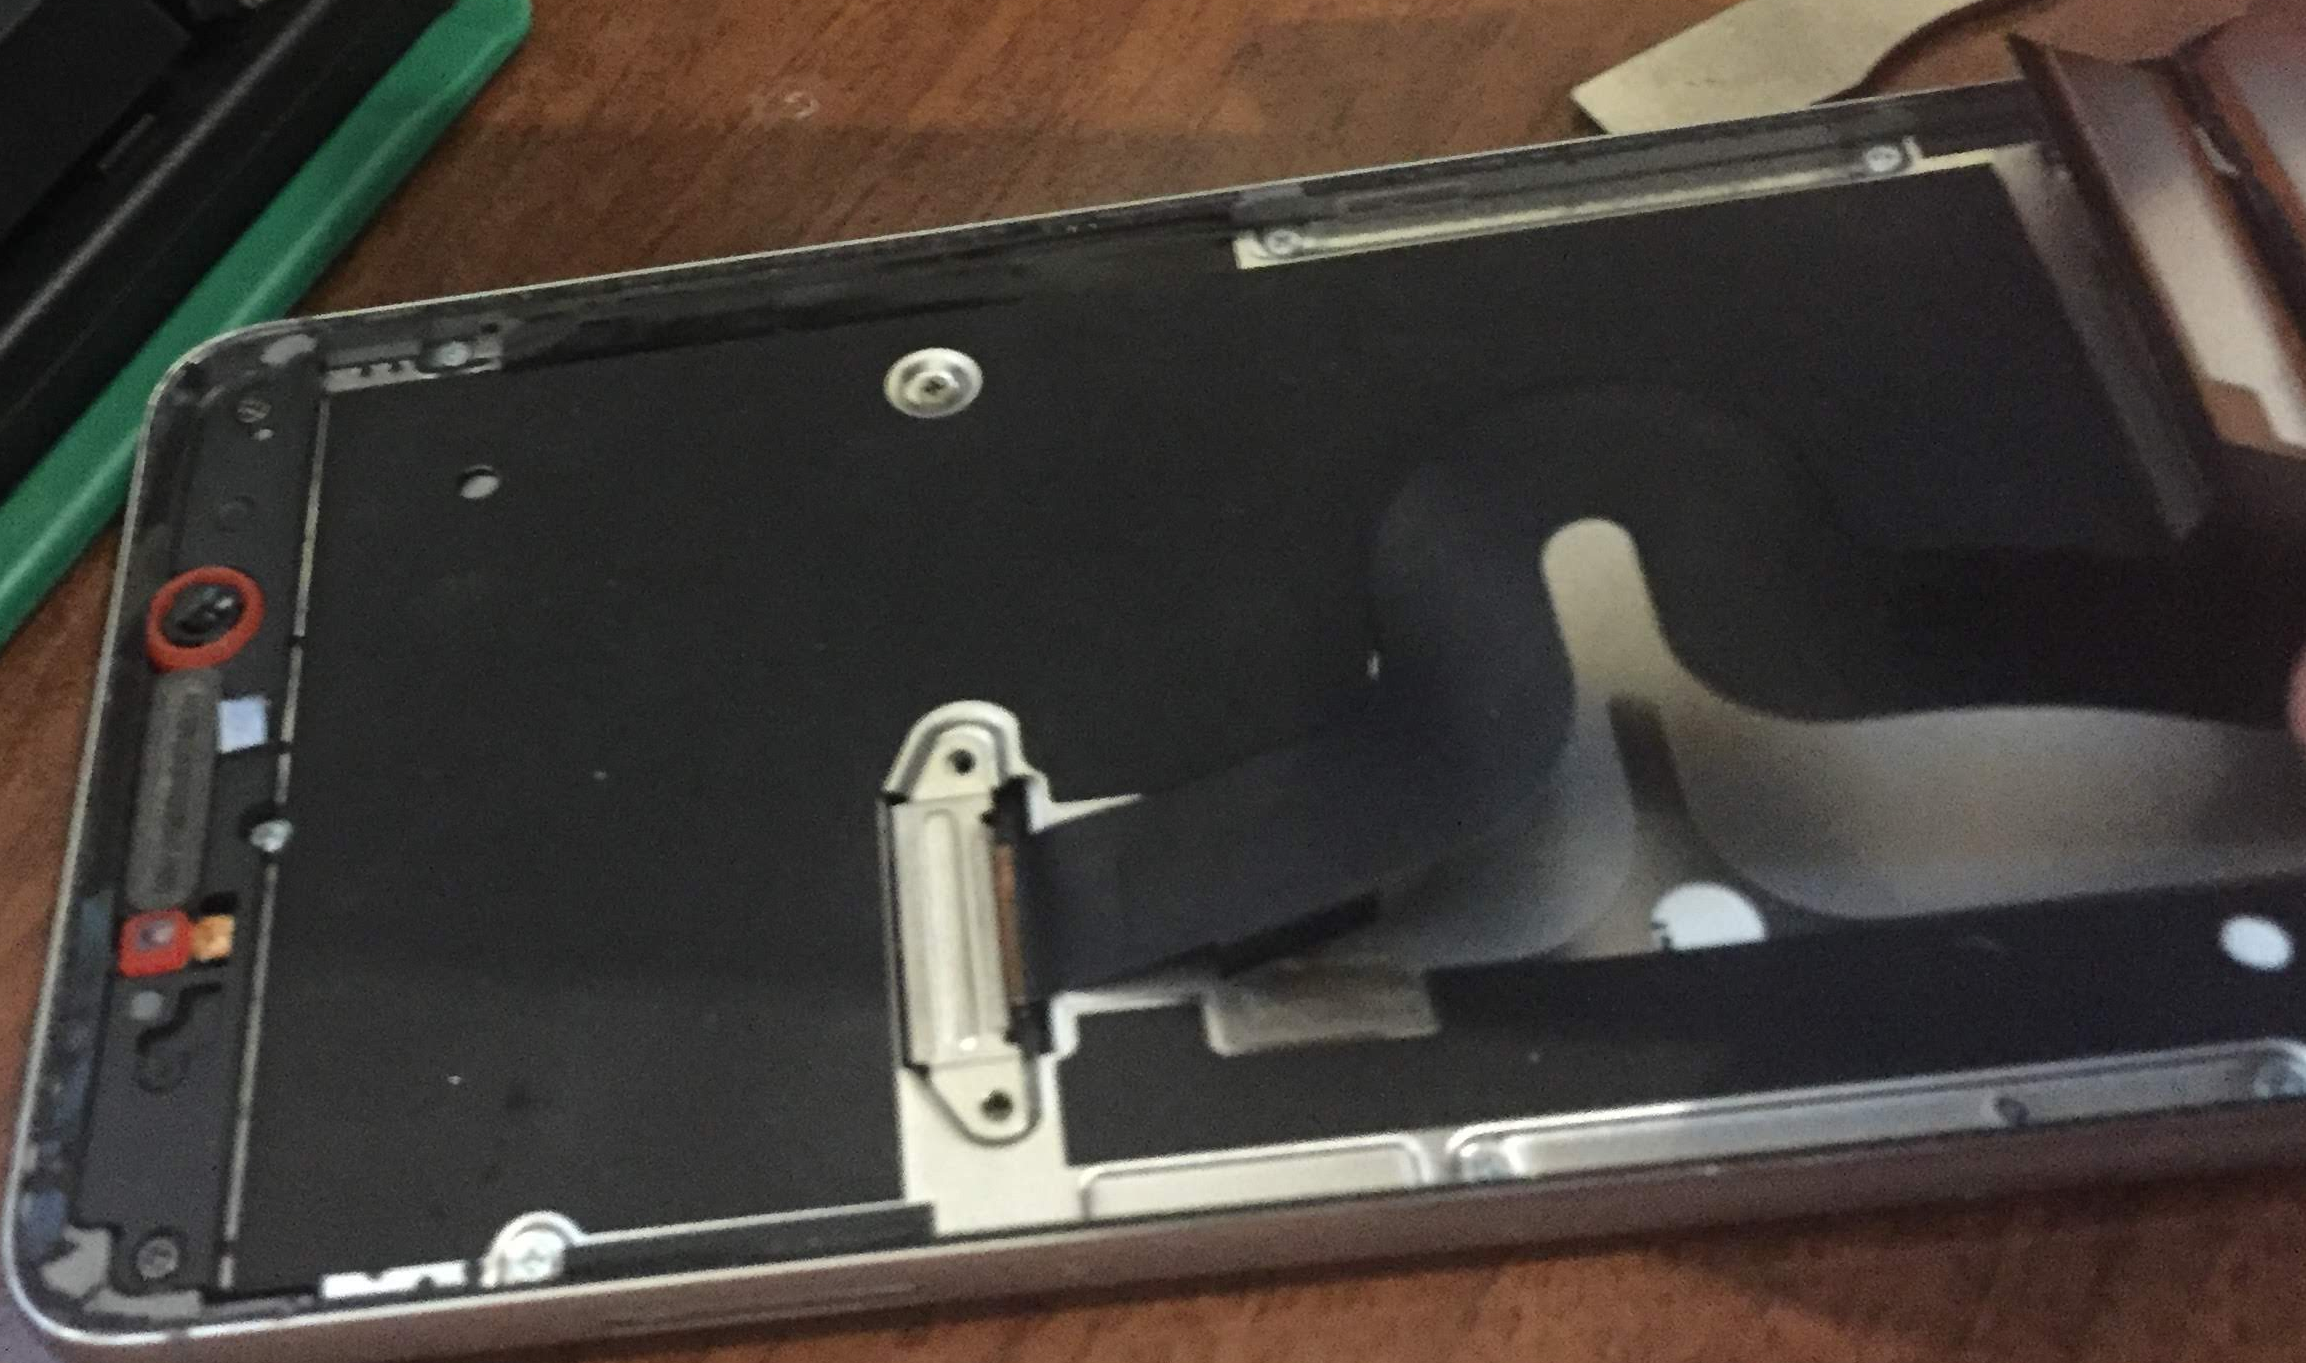
You’ll need to remove two small screws behind the screen in order to disconnect the cable which connects the screen to the body of the phone.
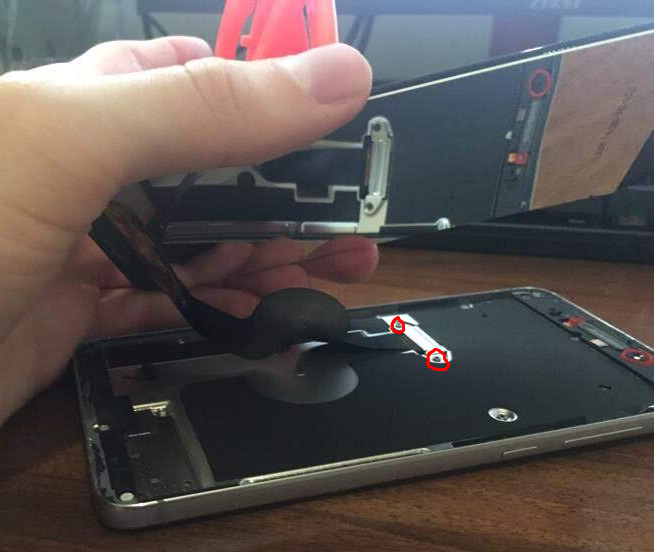
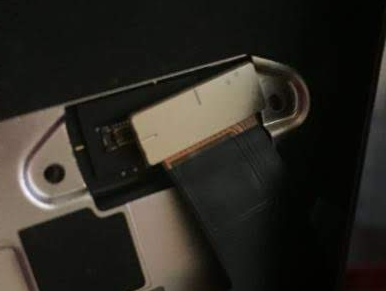
Then disconnect the screen ribbon from the phone.
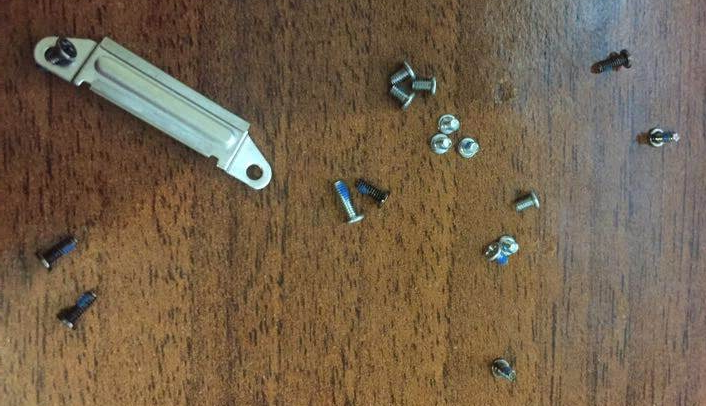
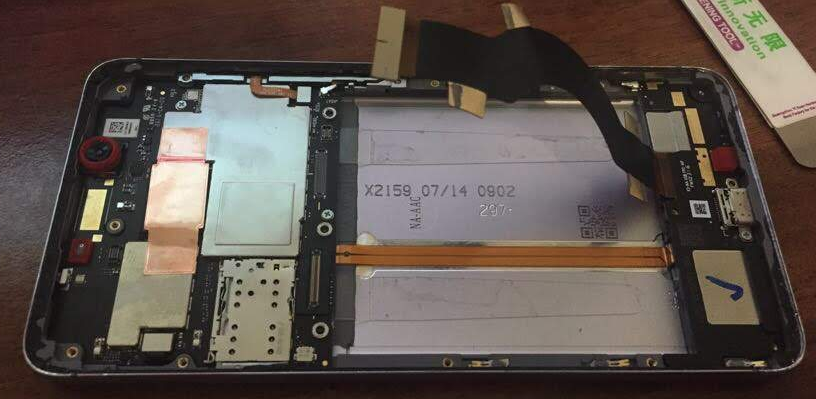
There will be an additional 15 screws which you’ll need to remove in order to get to the battery. If you are just replacing the screen you can skip ahead to the section where I connect the new screen to the phone.
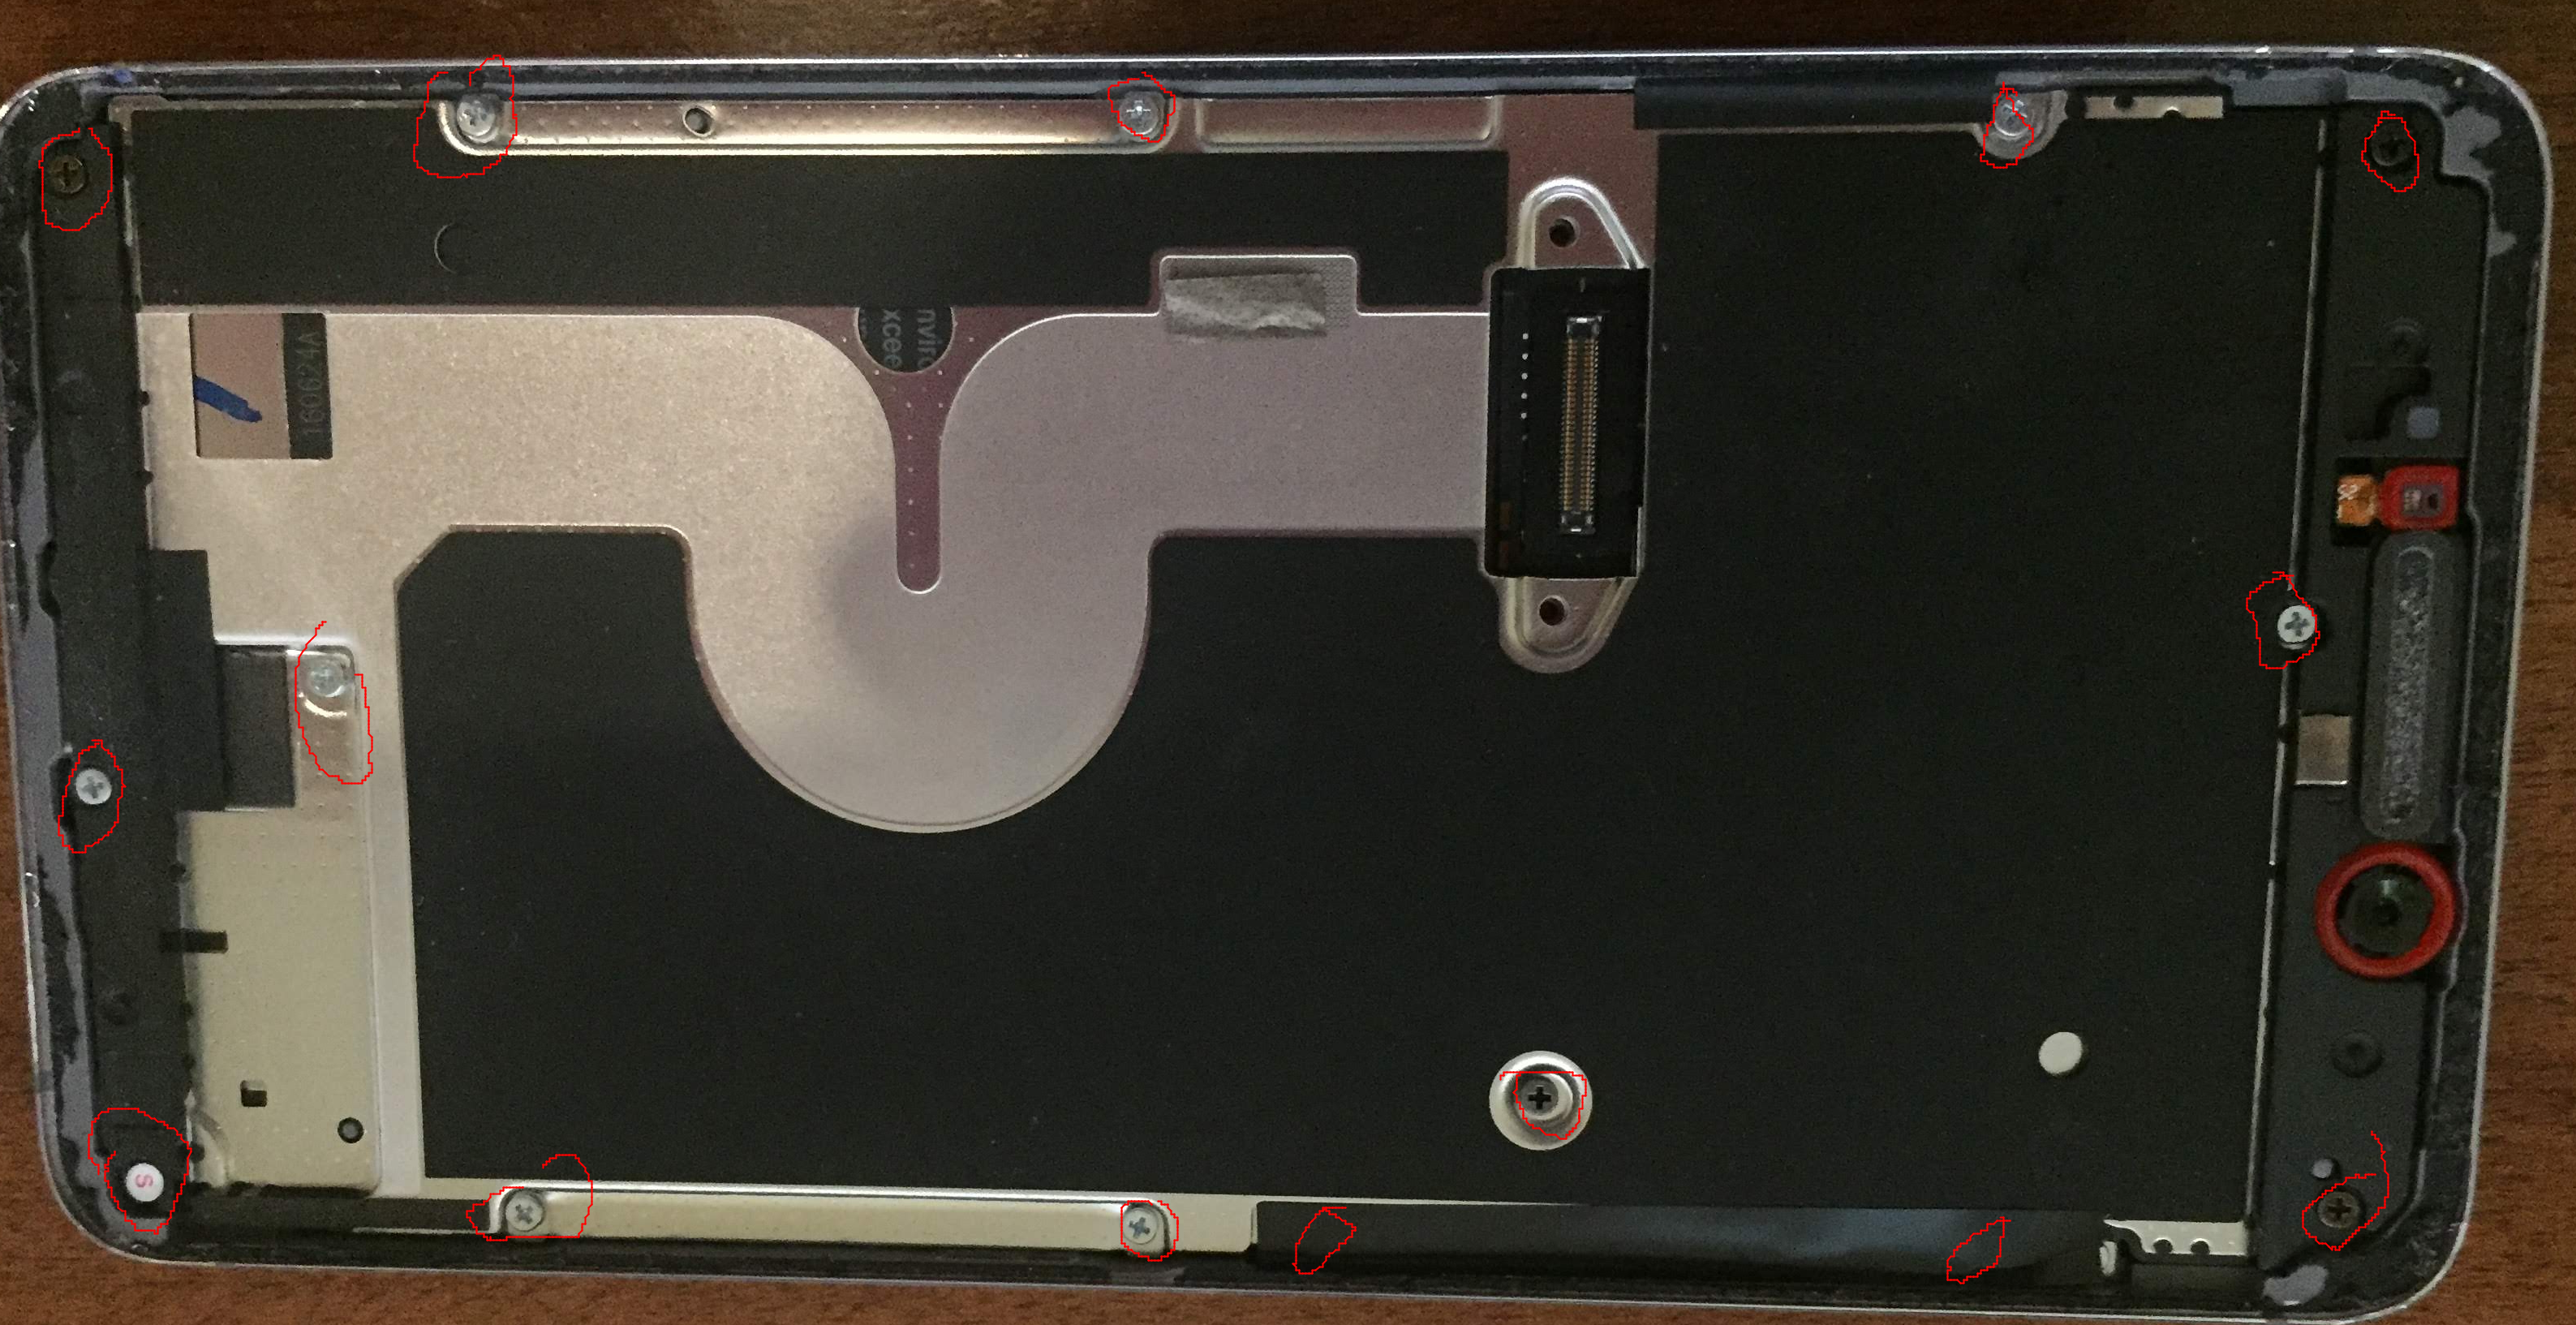
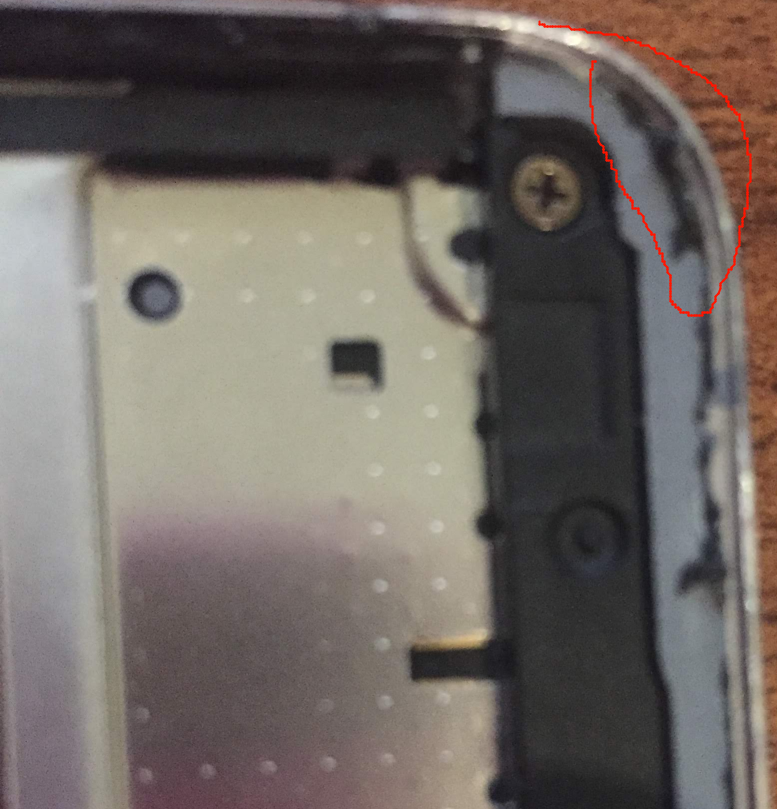
With all of the screws removed, you can pry the shield away from the back of the phone. You’ll need to be careful, as a ribbon is glued to the back of the shield.
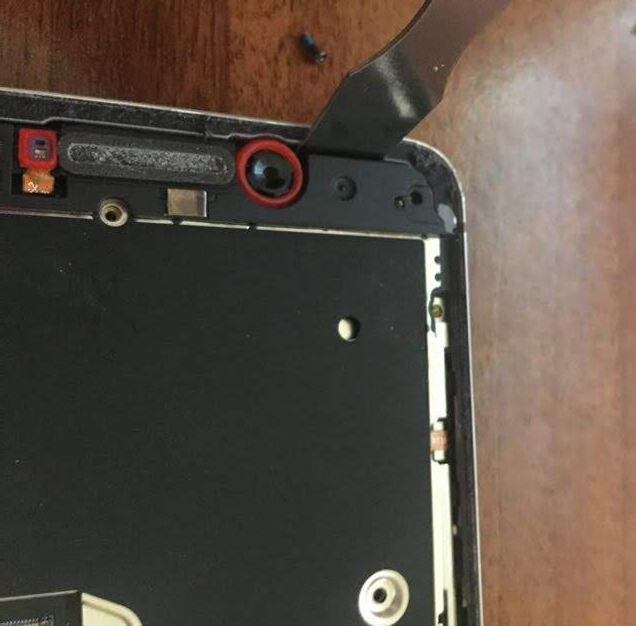
You can see the glue locations for the ribbon on the back of the shield. With the shield removed, you can now finally access the old battery.
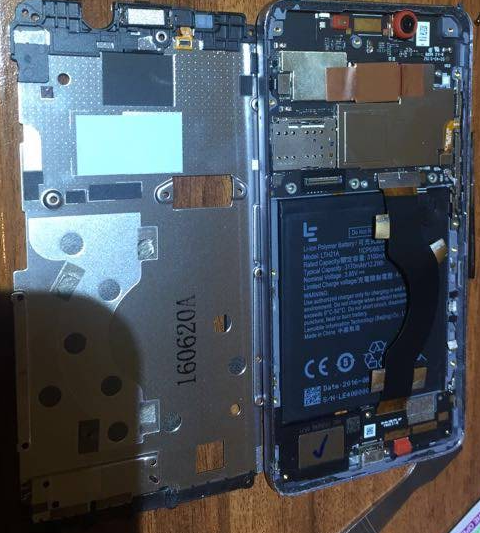
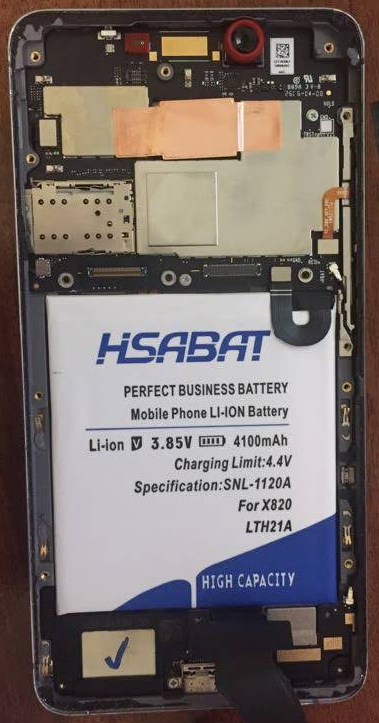
Disconnect the ribbon that is right above the battery. Near this large ribbon will be another smaller ribbon that connects the battery to your phone. Disconnect the battery from the phone.

Be very careful not to puncture the battery as you remove the battery. The battery is glued into the base of the phone. You can see the two major glue strips in the following picture. You may need to remove the motherboard in order to access the pull tabs on the glue strips.
Place and secure the replacement battery.
Reassemble your phone. Before you put the new screen on, I recommend testing the original screen to see if you damaged the screen during the process.
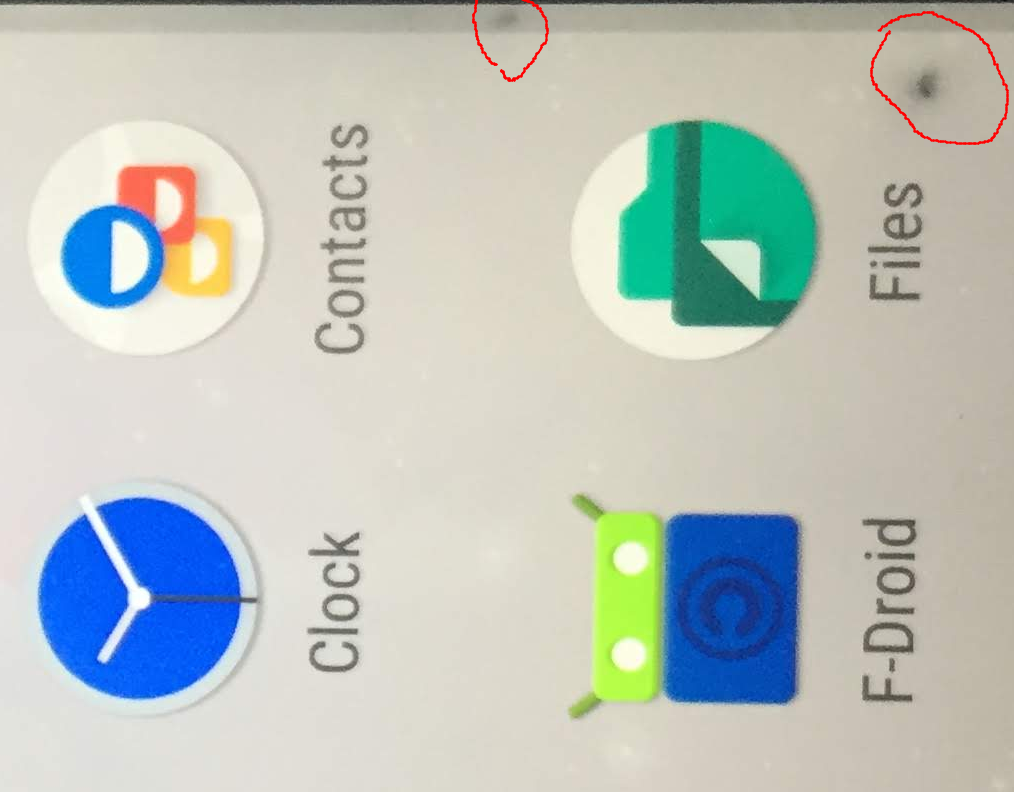
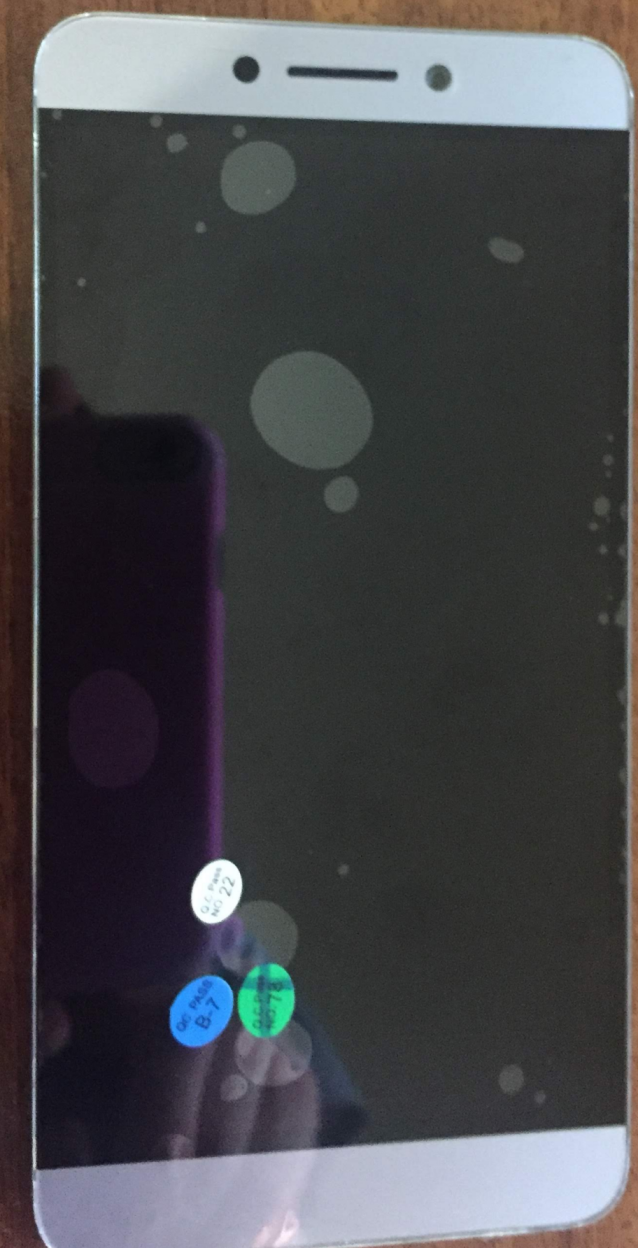
You can see a few new dead pixels on my original screen. This happened as I was prying the screen open, so you’ll want to be very careful as you remove the screen. Do not stick your prying tool too far in or against the screen. This damage is something I could live with, however since I have a new screen I’ll go ahead and put it on. Turn your phone off before attaching a different screen.
You’ll want to connect and test the new screen before proceeding.
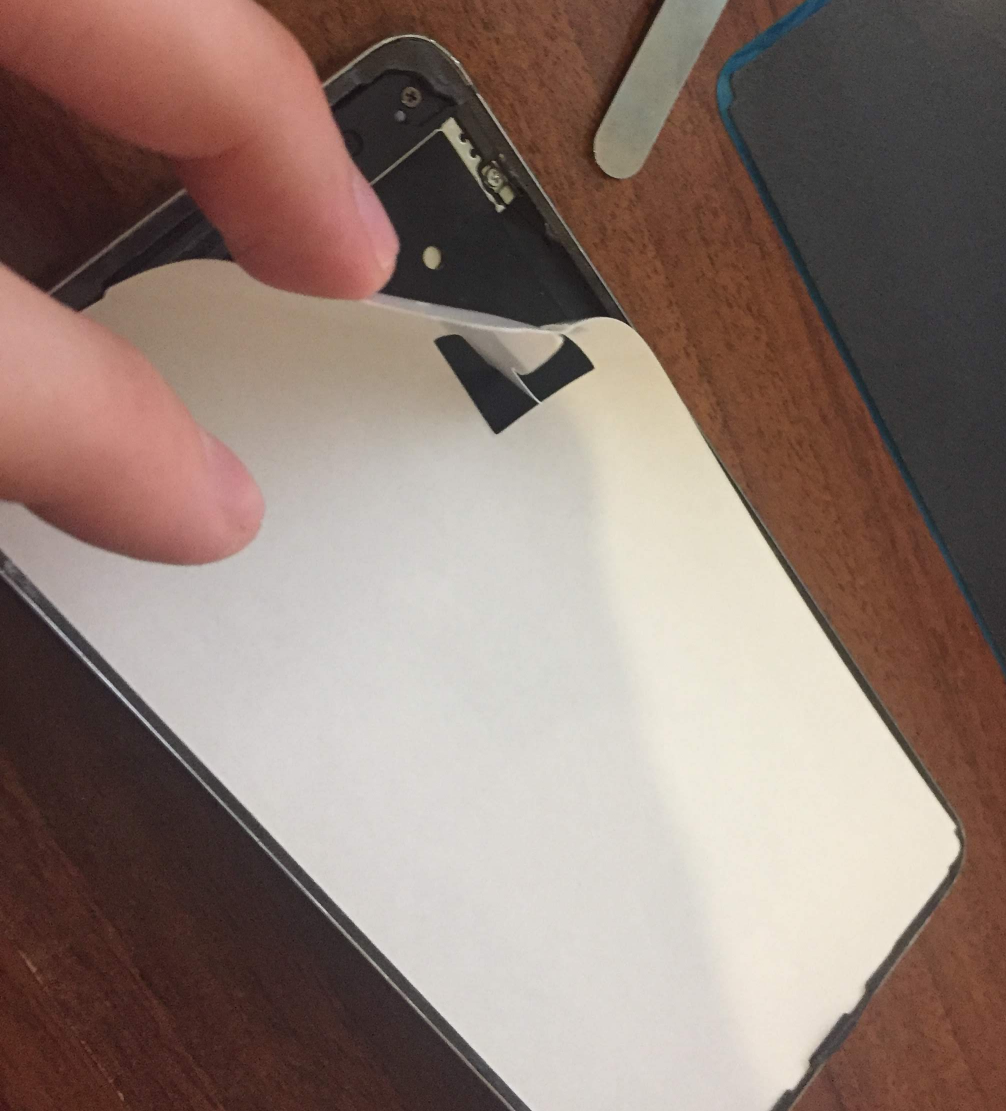
Hopefully your new screen is working. Turn your phone off again. Now you should do your best to remove the old adhesive that was used to secure the old screen to the phone. However, you should only do this if you have new adhesive to secure the screen in place!
Your new screen should come with an adhesive template. Remove the outer edge of this template which will be placed on your phone’s body.
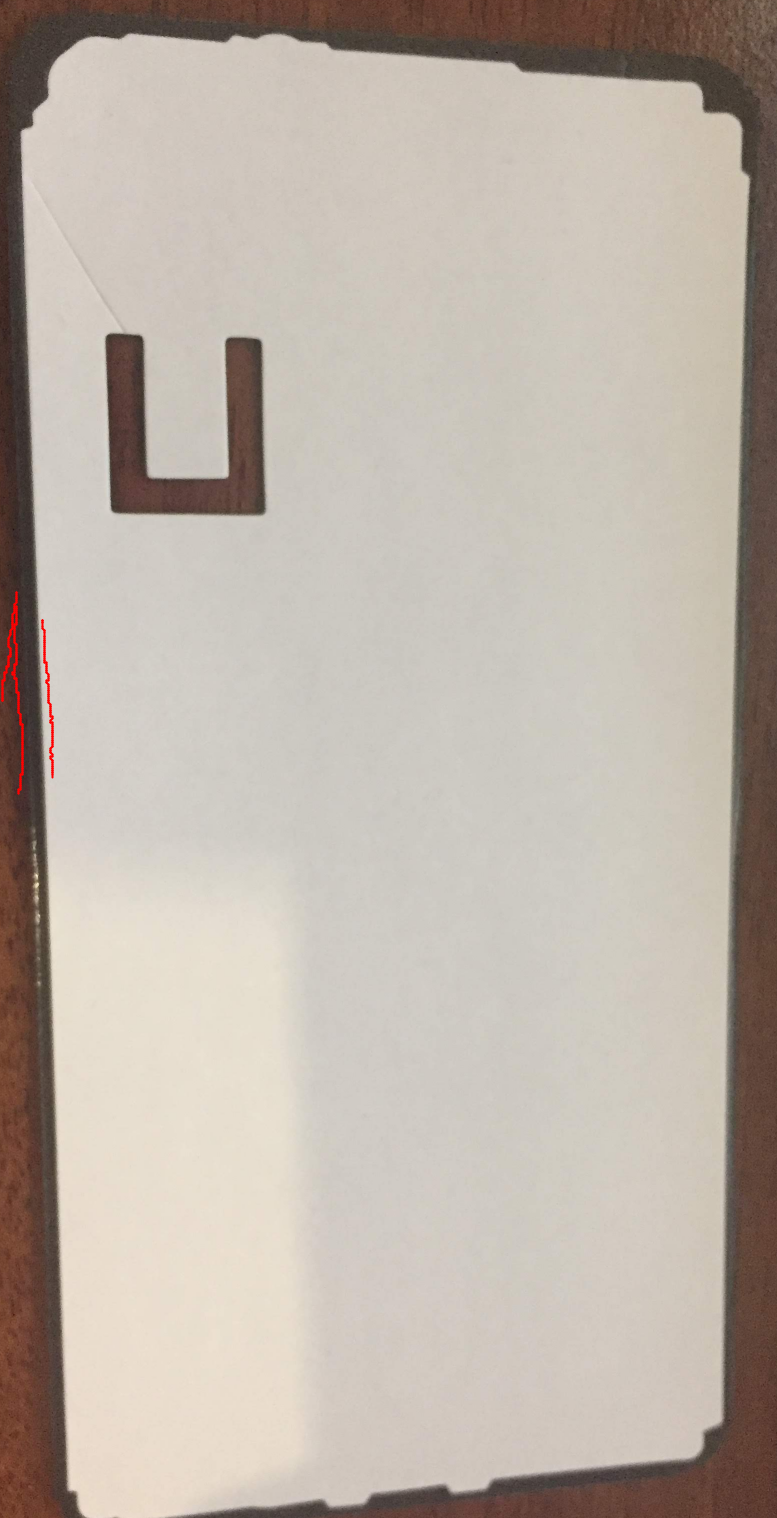
Now place the adhesive template onto the body of the phone. You’ll have to push down such that the adhesive has been firmly placed. Remove the template such that only the adhesive around the perimeter of your phone remains.

Connect the new screen’s ribbon to the phone, and secure with the two screws. You can now firmly place the new screen into the phone. You’ll want to firmly press the screen into place around the edges.
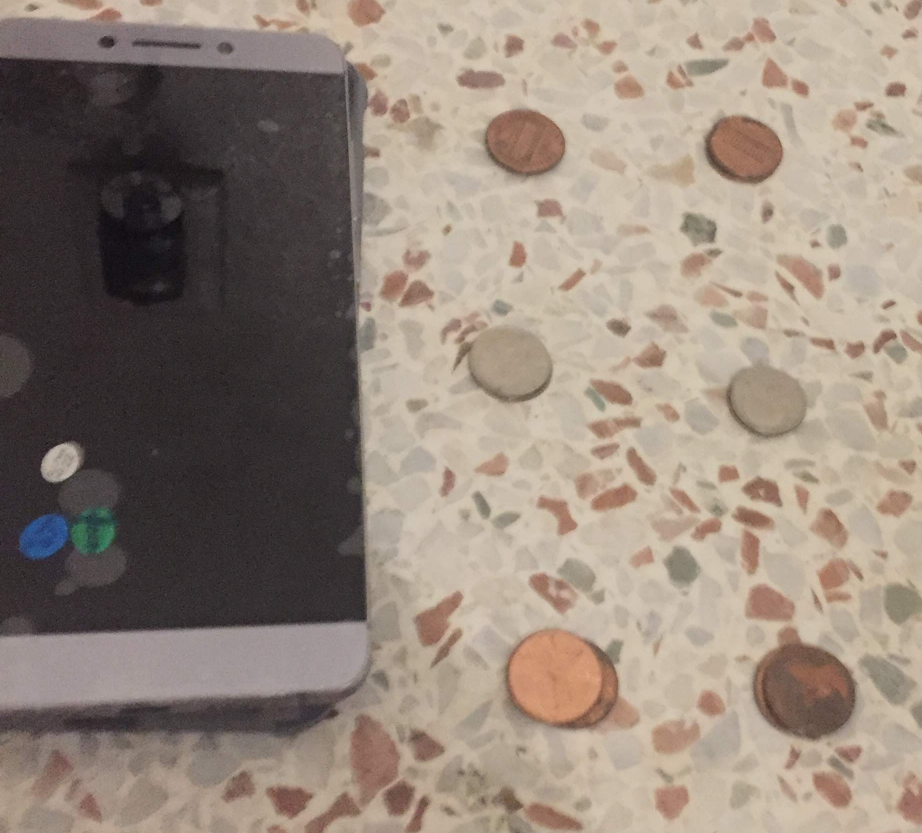
You’ll want to keep pressure on the screen while the adhesive sets in place. I used a few pennies placed on the floor to give clearance to the rear camera. Then I placed the phone on the pennies, and heated up the screen again. I believe the adhesive will cure faster and stronger onces it’s been warmed up.
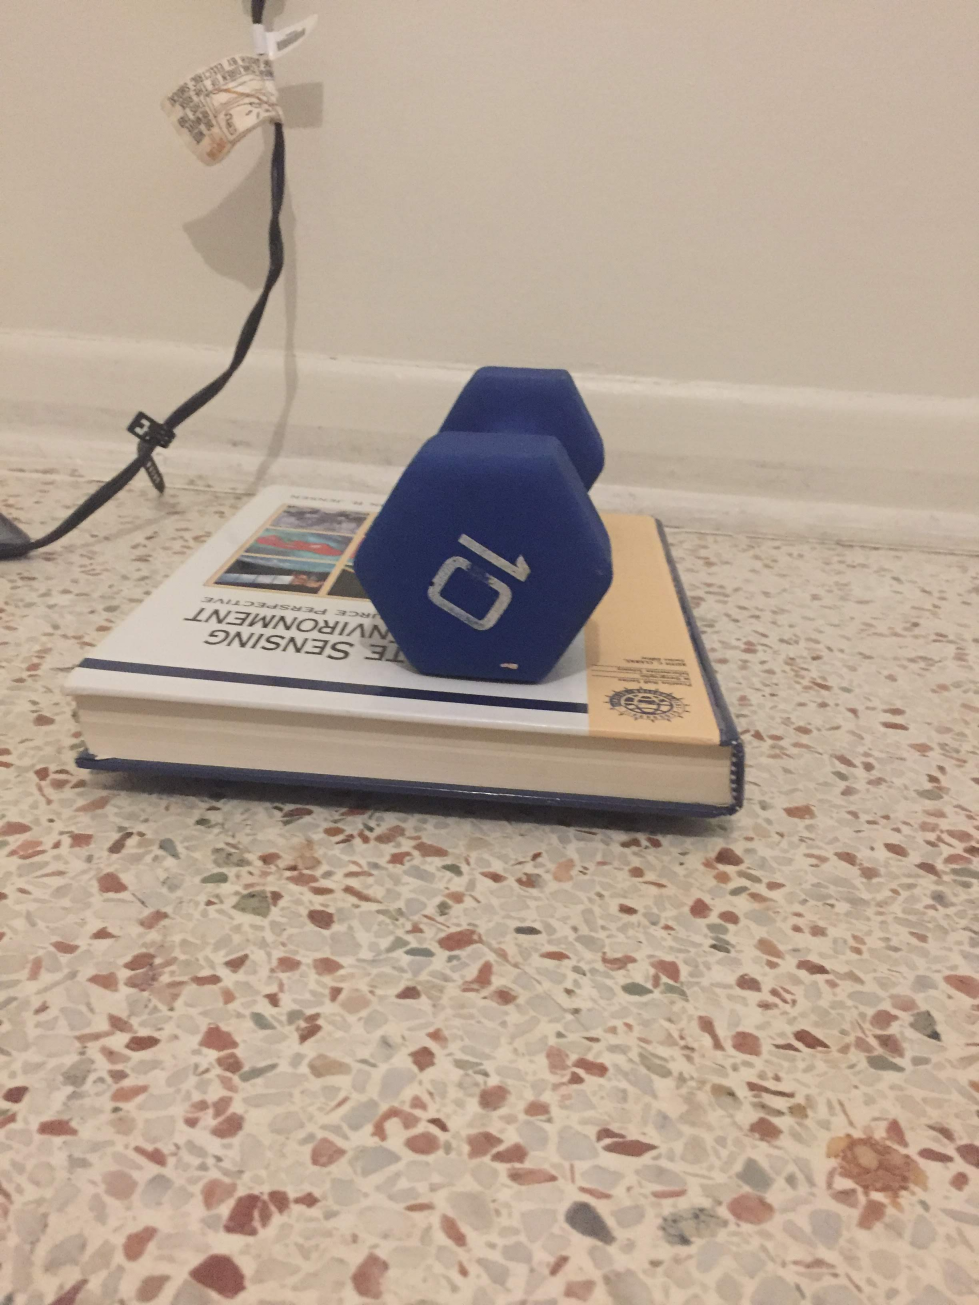
I then placed a textbook onto the screen with a 10 pound weight, where I let the phone sit for an hour or so.
Enjoy your newly replaced battery/screen and hopefully this has been helpful!
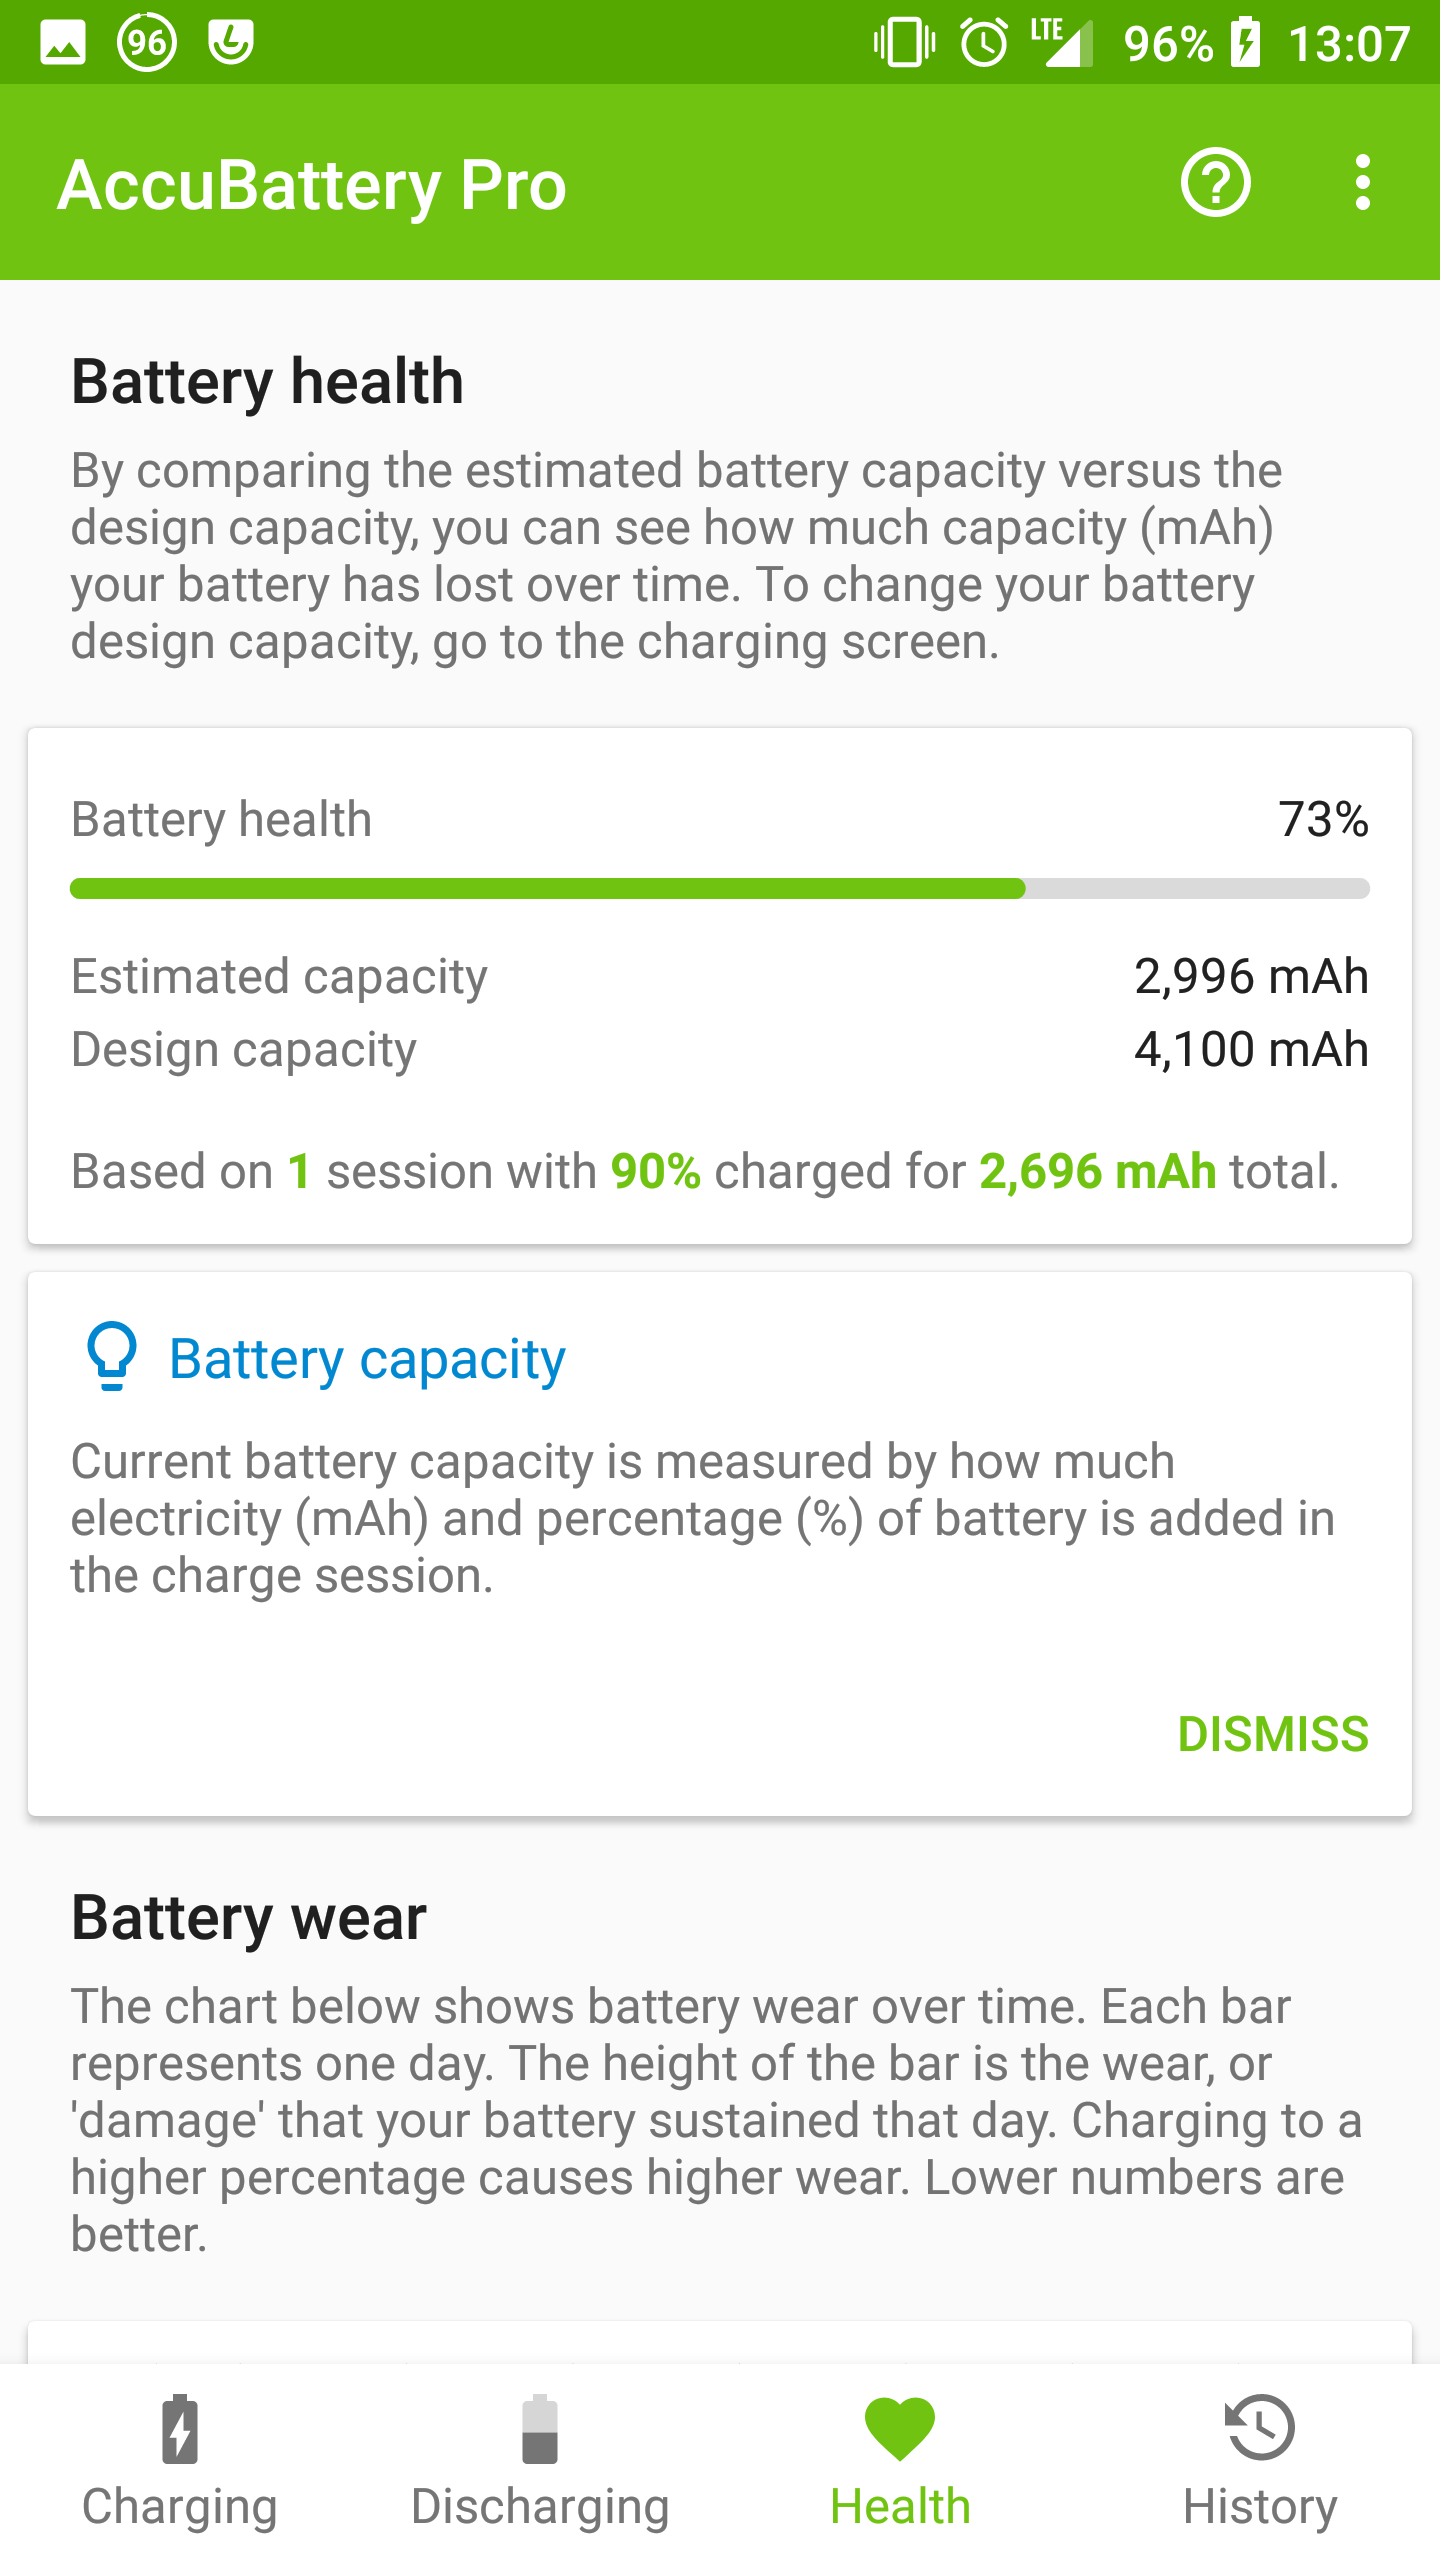
AccuBattery stats for the new battery
I’m now on the second charge of the battery, and I figured you may be interested in some of the stats of the battery. You can see that despite the battery being labeled 4100 mAH, the estimated battery capacity is only about 3000 mAH.