Visual Studio Code Python Setup
July 29, 2018
Visual Studio Code has become my absolute favorite IDE / text editor. I highly recommend those who work with Python to consider using Code. If I were to revisit my Python course, I would spend a lecture going over setting up Code for working with Python. Microsoft has created a Python extension, which includes linting (a feature that will catch errors and help you follow the PEP 8 style guide). This post will show you how to setup code, why the linting options are useful, and how to run Python scripts from code.
Some of the reasons I like Visual Studio Code:
- Code opens fast
- Code works on multiple operating systems (Linux/Windows/Mac)
- Code includes useful features by default (keyboard column selection, indentation conversion, terminal, and so much more)
- Code plays nice with git
- Code is free and open source
Basic Python setup
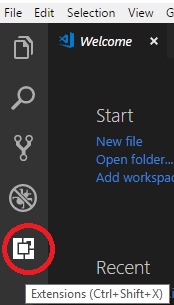
Go download Code and install for your system. Open Code and go to the extensions tabs.
Now search for Python in the Marketplace Extension.
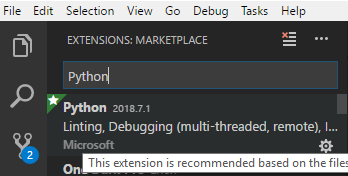
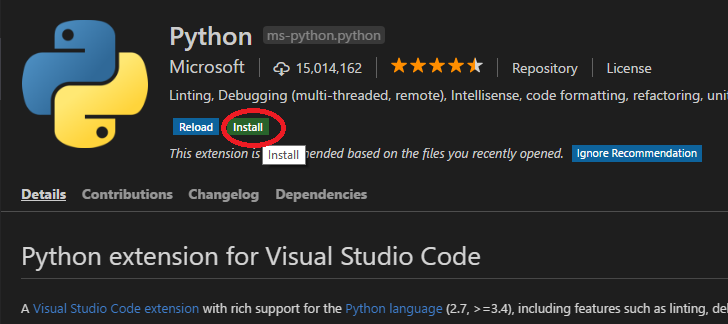
The Microsoft Python extension includes many useful features for Python development. These features include: linting, debugging, environment selection, and more. Install the Python extension. I also like to have a spell checking extension, but that is up to you.
Now you need to install a Python linter. A linter will help you write better code, and display possible errors before you run your code. My favorite Python linter is flake8, which will help you write Python code to the pep8 style guide. Open a terminal/prompt and install flake8.
If you are using conda run:
conda install flake8
or you can install with pip using:
pip install flake8
You may also need to install pylint, which can be installed with either conda or pip. It is worthwhile to note that if you are using several Python environments, you may want to install flake8 in each of them. There will be more on multiple Python environments later.
Now you need to tell Code that you want to use the flake8 Python linter. Open your settings in Code.
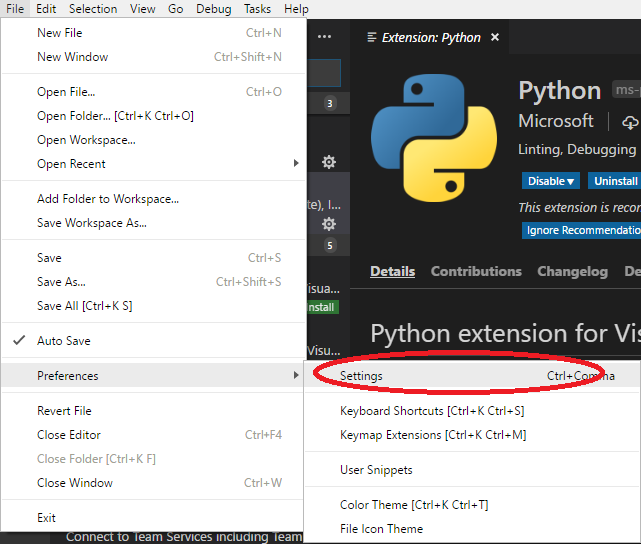
Settings in Code are stored as text file (although there is much work on a new settings editor). I really like the text settings, because you can quickly search and view the defaults. You should see two planes; On the left will be the default user settings, and on the right will be your personal user settings. Anything you type in the right will override the default settings.
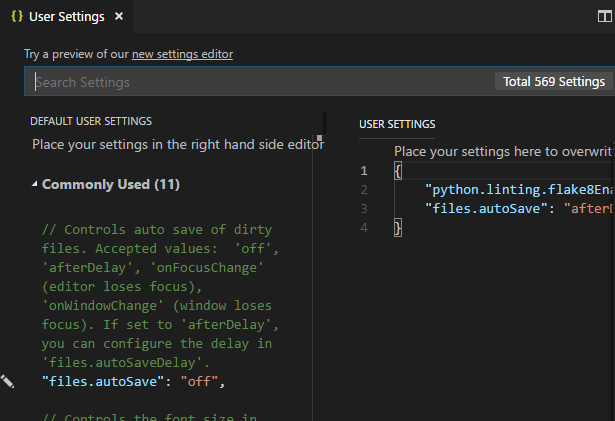
My user settings look like:
{
    "python.linting.flake8Enabled": true,
    "files.autoSave": "afterDelay"
}
which tells Code to use the flake8 Python linter, and enables autosaving. Some people will hate autosaving (which is disabled by default), so you can decide if it’s a feature you’ll appreciate. I like autosaving, because sometimes I forget to save my script before running it in IPython.
What does Python linting do?
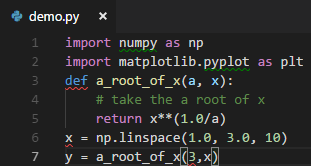
Linting will help you write better Python code. The best way to understand what linting does is through an example. Go ahead and create a new Python file (named demo.py) with the following code.
import numpy as np
import matplotlib.pyplot as plt
def a_root_of_x(a, x):
    # take the a root of x
    return x**(1.0/a)
x = np.linspace(1.0, 3.0, 10)
y = a_root_of_x(3,x)
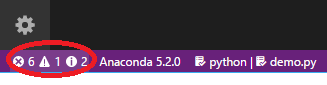
You may see a few warnings at the bottom of the screen.
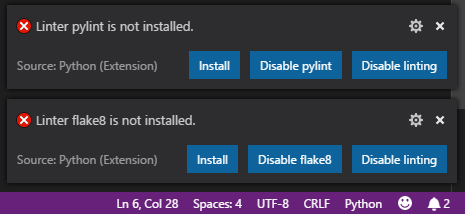
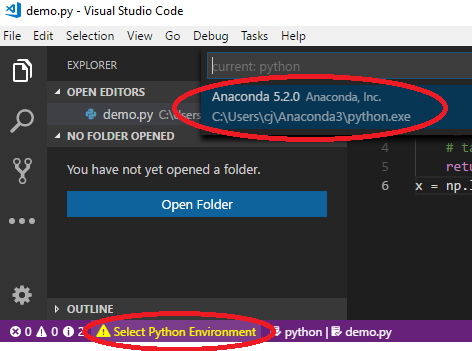
These errors because we haven’t selected a Python environment yet. Click on Select Python Environment on the bottom bar of Code. Then choose your desired Python environment at the top of the screen. Code is very good at automatically finding all of your Python environments. I usually run at least two Python enviorments (2 and 3).
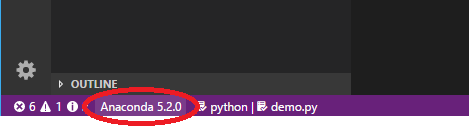
Now since I selected my Anaconda Python environment, I can see Anaconda 5.2.0 at the bottom of Code. You can easily switch your Python environment anytime by clicking on Anaconda 5.2.0.
If everything is working correctly, you should start to see some red underlines on the Python code for the demo.py file.
We can take a look at what these underlines mean by clicking on the warnings at the bottom of Code.
There are several problems with our code not following the style guide as shown below.
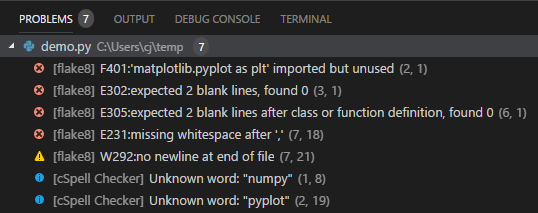
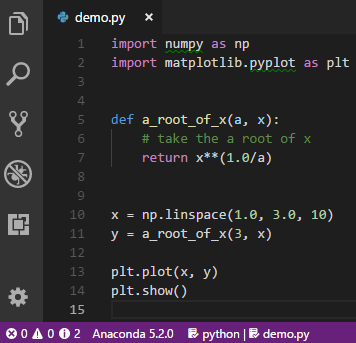
Flake8 helps you right code that follows the Python PEP 8 style guide. It does this by complaining about all of the lines that don’t follow the style guide. This is a wonderful thing to help people follow the style guide. If we fix our code, we’ll no longer have any warnings or problems.
How to run Python scripts from Code
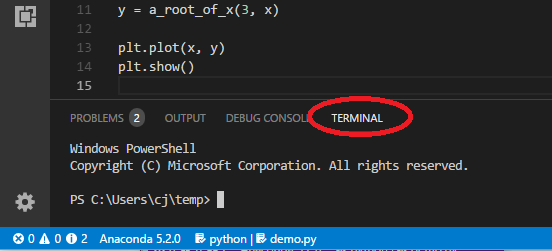
Now you can run your python scripts from Code using the terminal at the bottom of the screen. We can click on the terminal tab and we’ll see something like the following depending on your system. “ctrl + shift + `” is the shortcut for opening the terminal in Code.
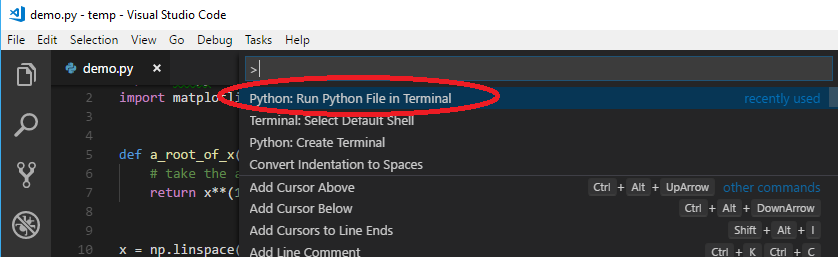
Alternatively we can press F1 to pull up the commands, and select “Python: Run Python File in Terminal”.
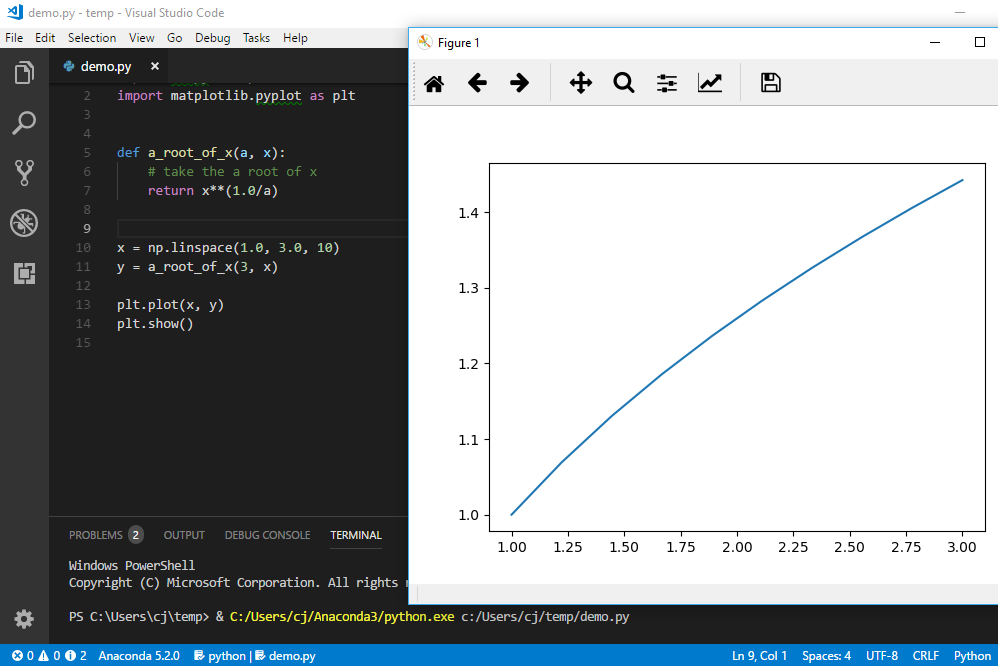
This will open a Python terminal, and then run the script. In Windows this will open a terminal that is similar to the Anaconda prompt.
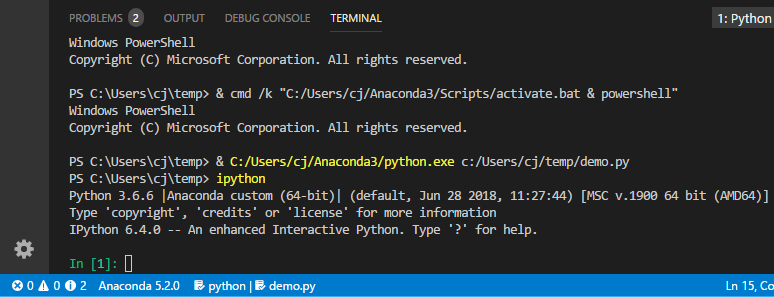
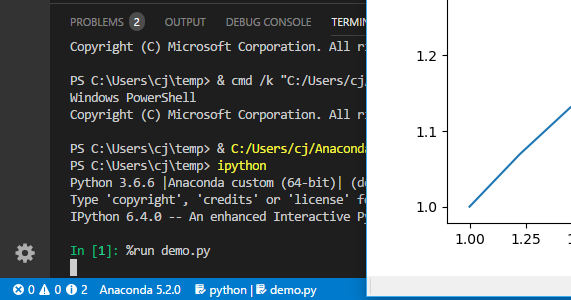
Now I prefer to run my scripts using IPython (You may need to install ipython using pip or conda if you don’t have ipython). IPython is an interactive Python enviorment, which makes it easy to run files and to inspect your variables. There are plenty of other useful features with IPython. We can type ipython into the terminal to start an ipython session.
Now we can use the IPython magic command %run to run our script.
%run demo.py
The majority of my work now is run with an IPython terminal with a Python script written in Code. Now it’s time for you to start writing your own Python! Hopefully this post has helped you get set up Visual Studio Code for Python.